Osseospeed EV Hack:
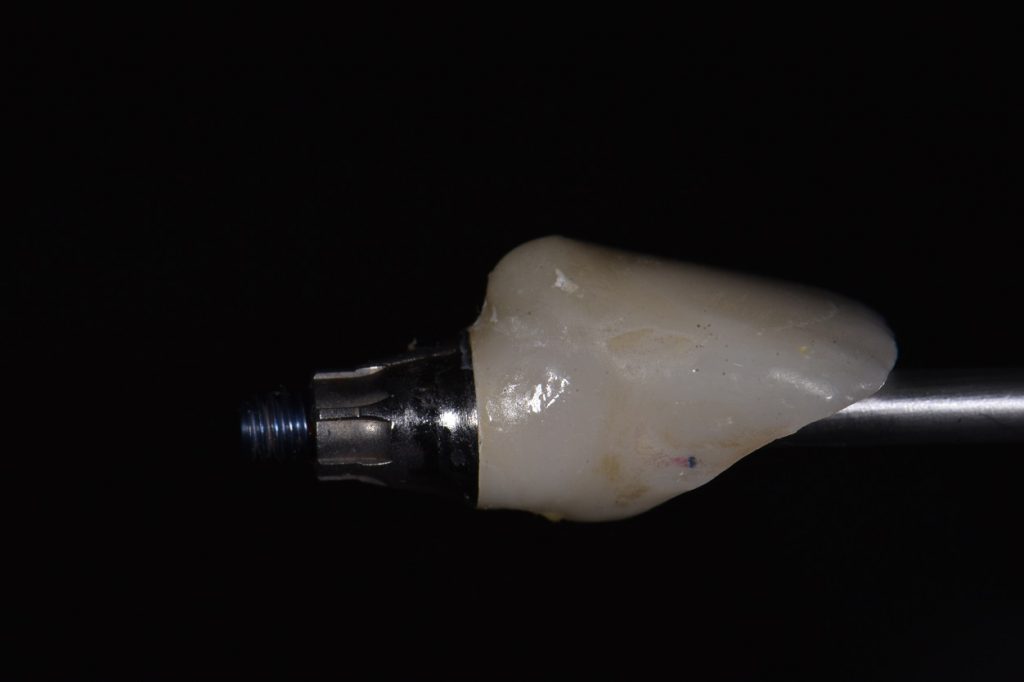
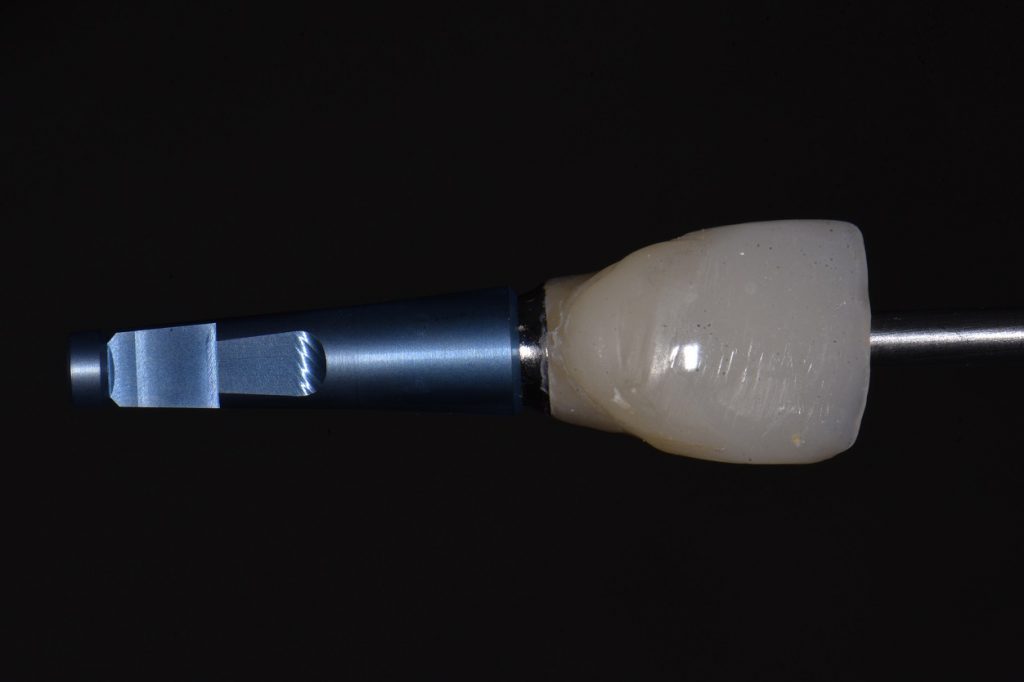
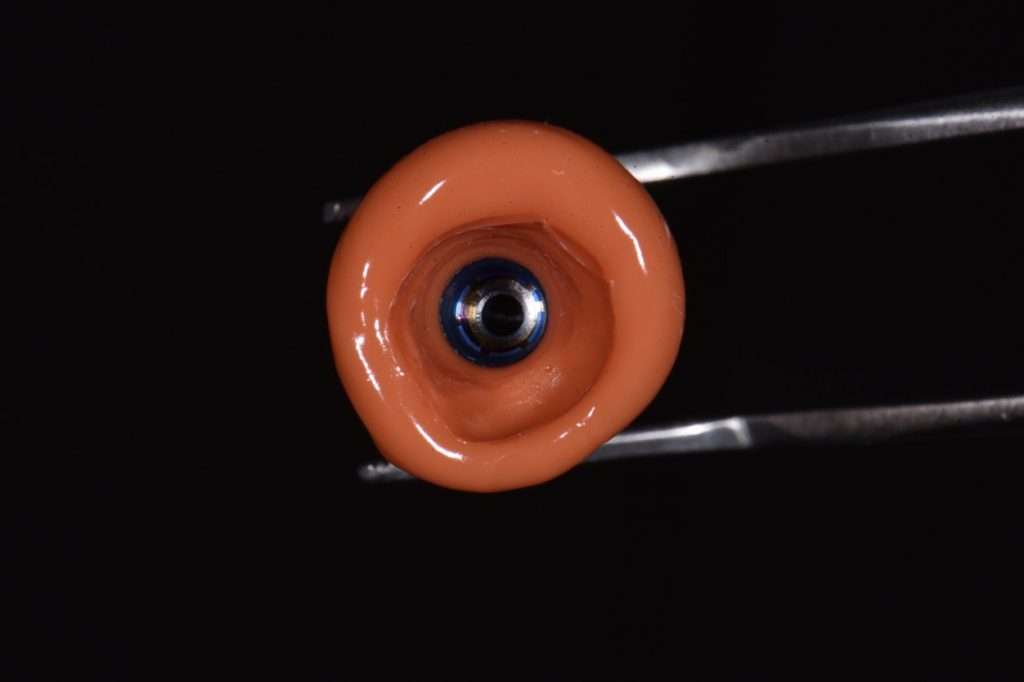
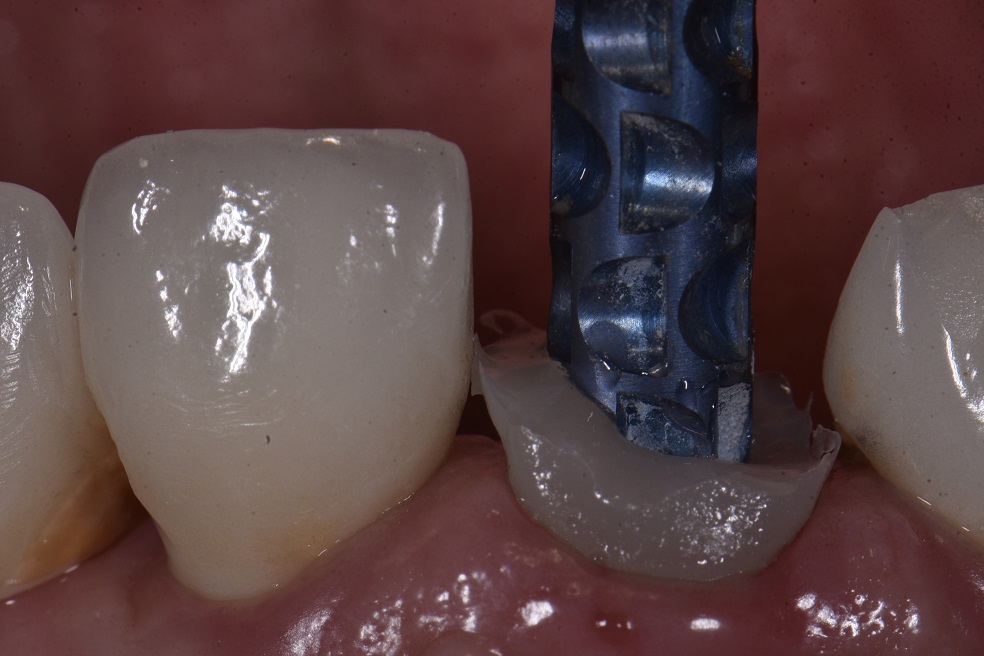
This is a little trick for those of you restoring implants using Astratech’s new Osseospeed EV range. In this case, I was hoping to capture my custom emergence profile via generation of a custom fixture head impression abutment with composite as explained previously by Chris Ho. The fixture head impression abutment will fit into the implant fixture and replica at only predetermined rotations (not all rotational positions like its predecessor, Osseospeed TX). I removed the patient’s provisional implant crown and just randomly attached it to a Osseospeed EV 4.8 replica, submerged it in PVS material and let it set. I then removed the provisional implant crown and affixed a fixture head impression coping to the replica. The space was filled with a flowable, bulk-fill composite before light curing.
Now, upon removal of the fixture head impression, you have the exact shape of your provisional’s cervical features supporting the soft tissue preventing collapse while you set up for that open tray impression. So we transfer to the mouth expecting it to slot in and … it doesn’t.
Why? Osseospeed EV components only rotate and slot in in approximately 4 different positions, despite having more internal features which can generate about 8 different positional variations rotationally. So, if Astratech’s TempAbutment doesn’t discriminate which of these positions is also shared by the components (i.e. fixture head impression coping), then you’re not going to get that custom fixture head impression coping to go down.
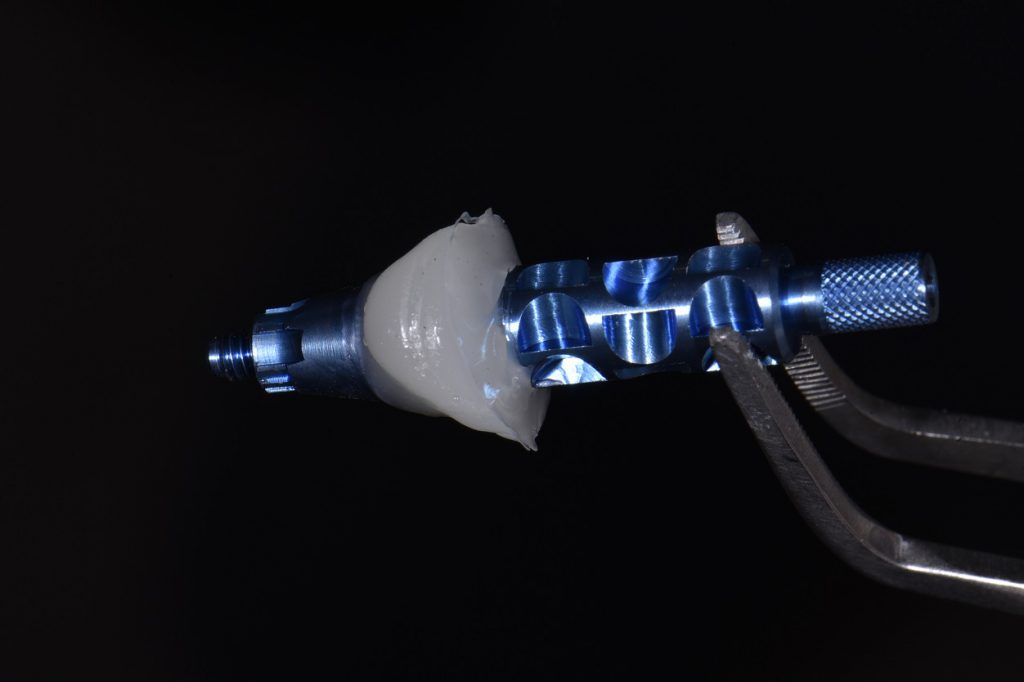
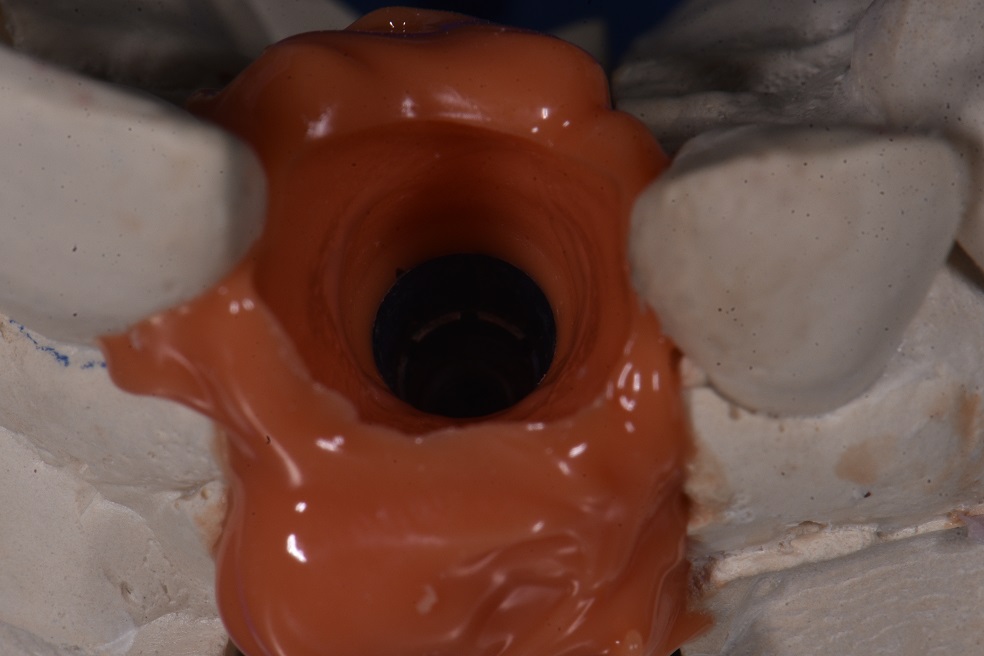
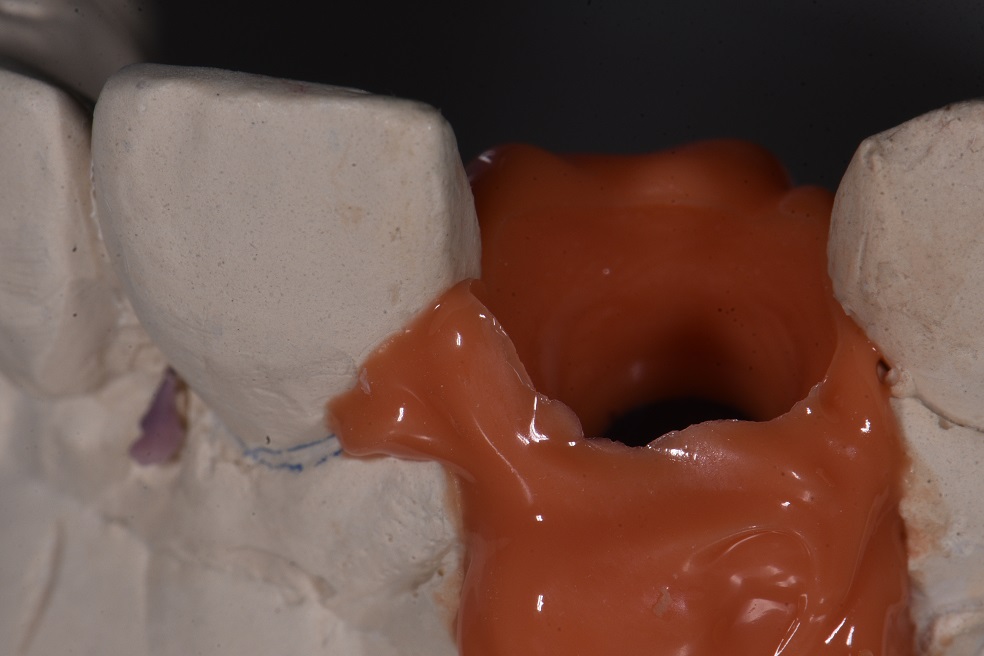
Solution? Luckily, we generated a model to fabricate the provisional implant crown, (we know the exact rotation of the fixture and position in bone) so the provisional was screwed back onto the model and light body flowed all around it, before repeating the above procedure. It just went down like a glove. Like a glove?
You know what I mean. Hope that saves you some time in your life.
You’re welcome.
#Astratech #OsseospeedEV #SkulptingSkool103