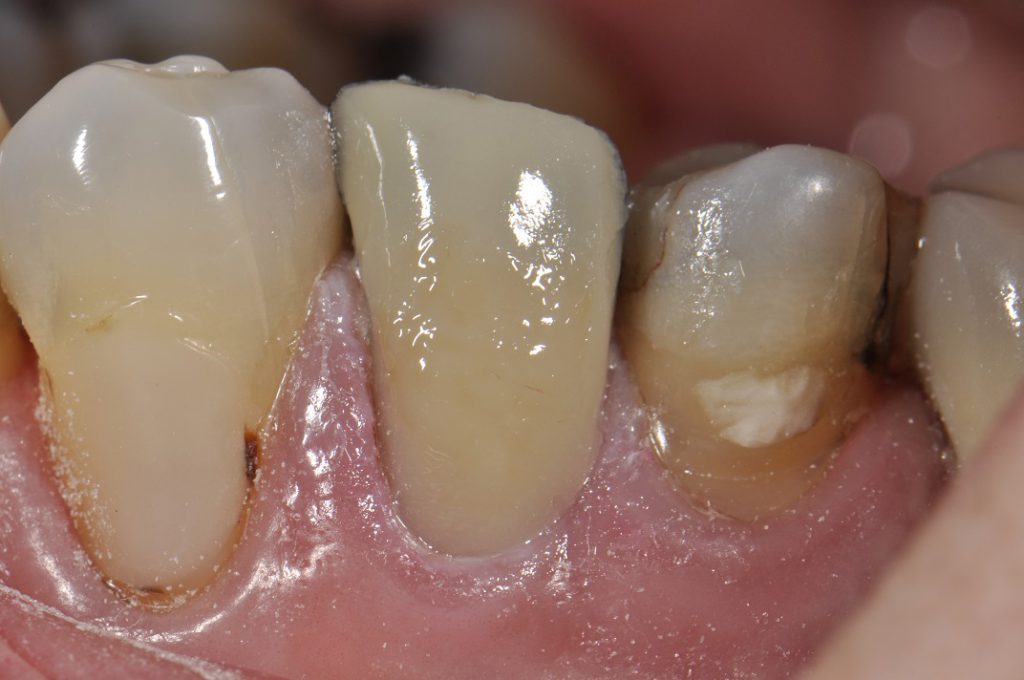
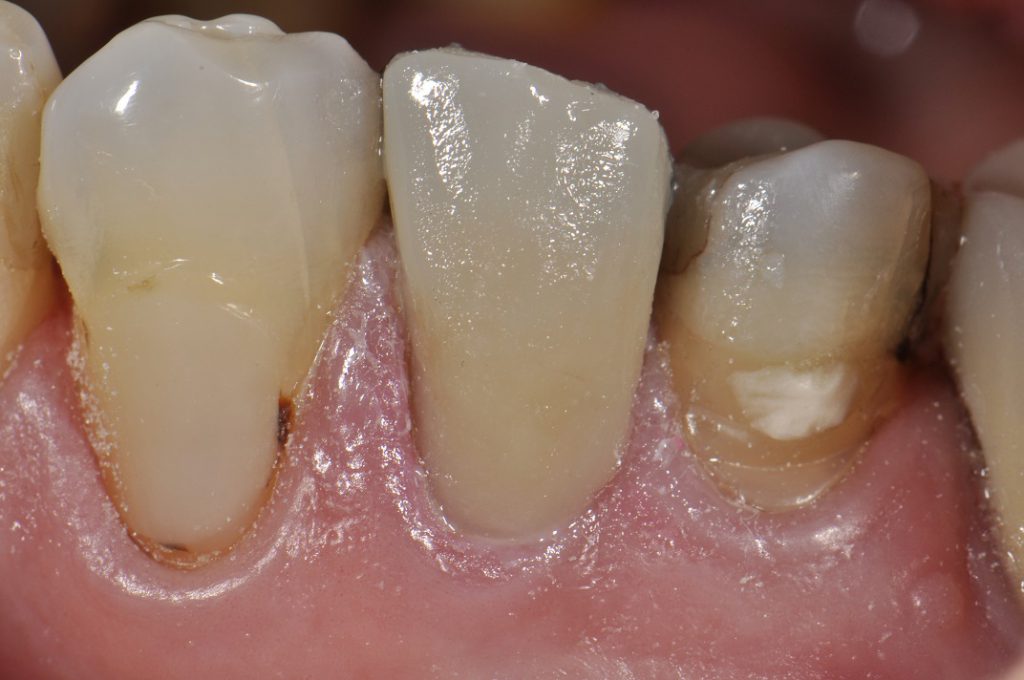
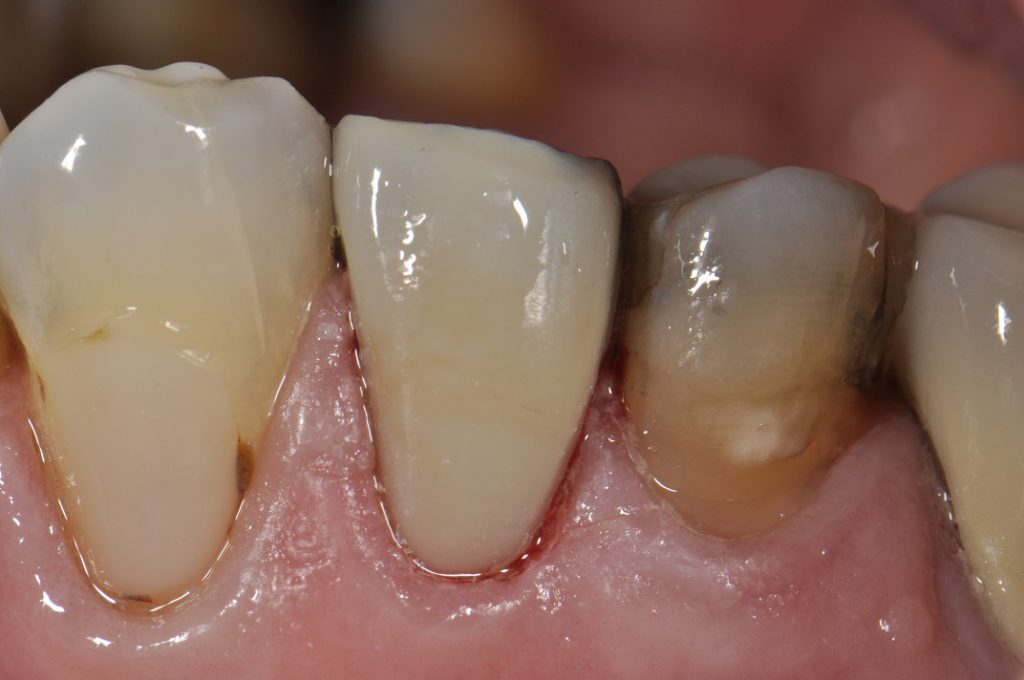
I was recently asked by a dental therapist to see if I could make her tooth look better while she was in the process of saving for a crown.
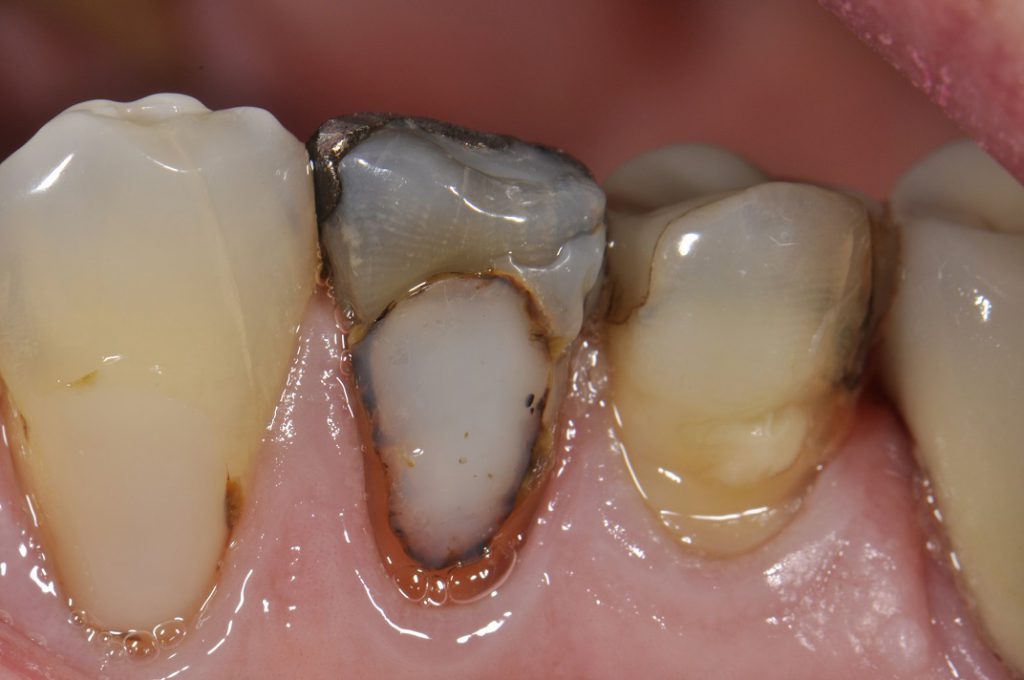
This is her starting situation:
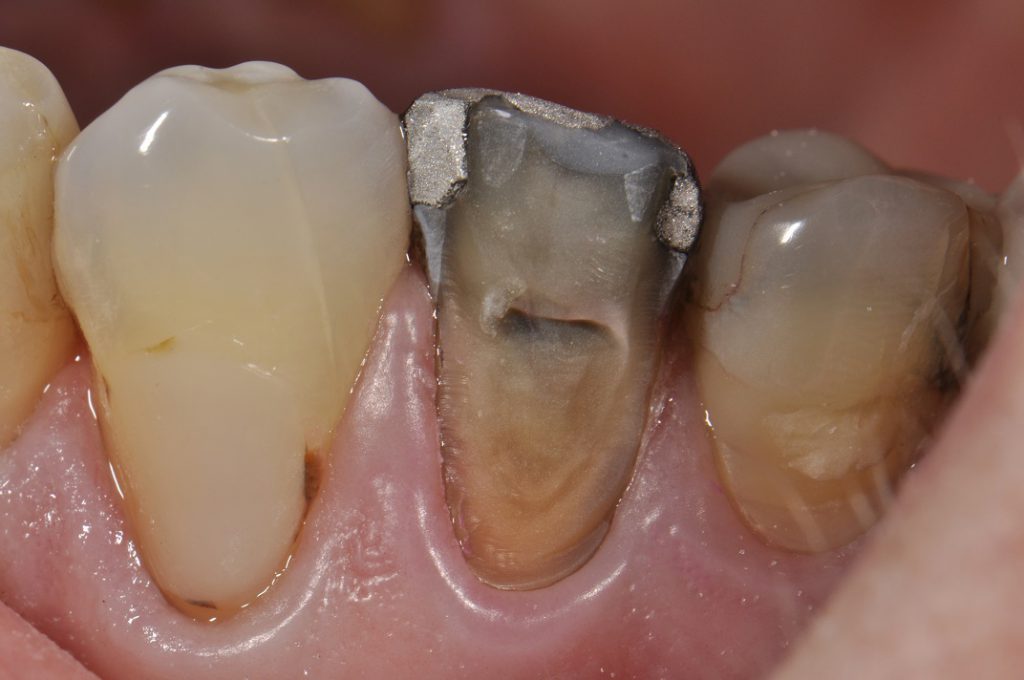
- After I removed her old filling, this is what we were left with:
- To restore this, I used micro air abrasion (27 micron aluminium oxide) first to micro-roughen the tooth surface before etching and bonding. This increases adhesive bond strength by up to 3 times!
- I started blocking out the cuspal 1/3rd (top 1/3rd) by using Clearfil PhotoOpaquer Universal Shade. This is quite a start white material. Cervically (at the neck of the tooth), I used Voco Amaris O3 shade.
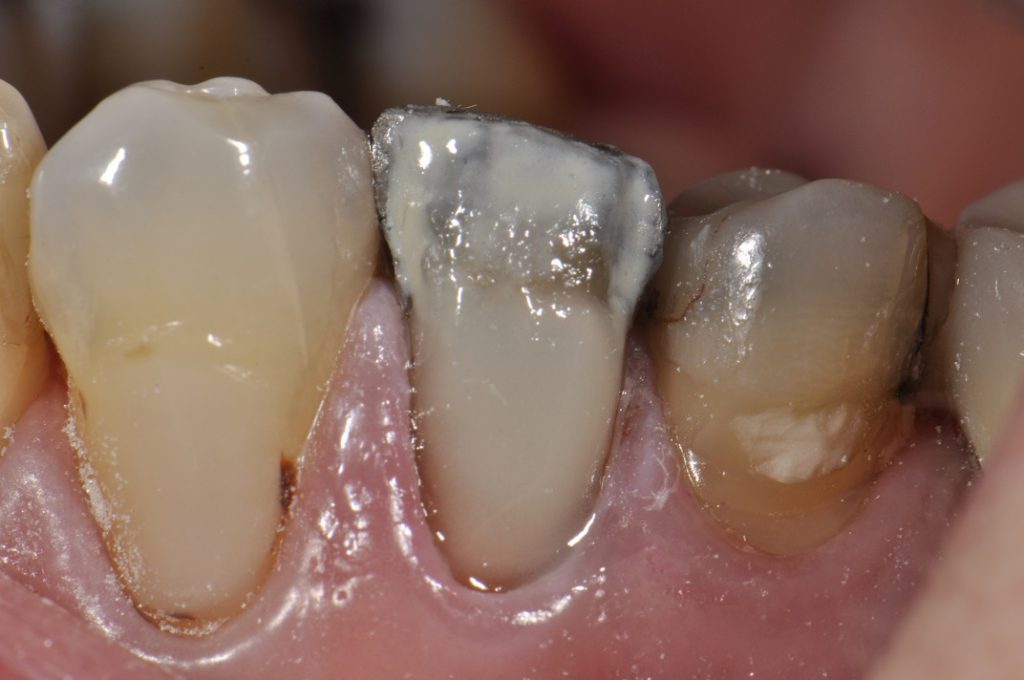
- I extended the O3 Amaris to the cuspal edge. At this stage, I thought the restoration still looked too grey and “stark” – lacking warmth. I decided to add some dark brown tint in this penultimate layer (Cosmedent Creative Color Dark Brown Tint) in the mid-facial segment to increase the warmth.
- Now we are ready for the final enamel layer. The next shot shows the restoration after placement, before finishing, contouring or polishing.
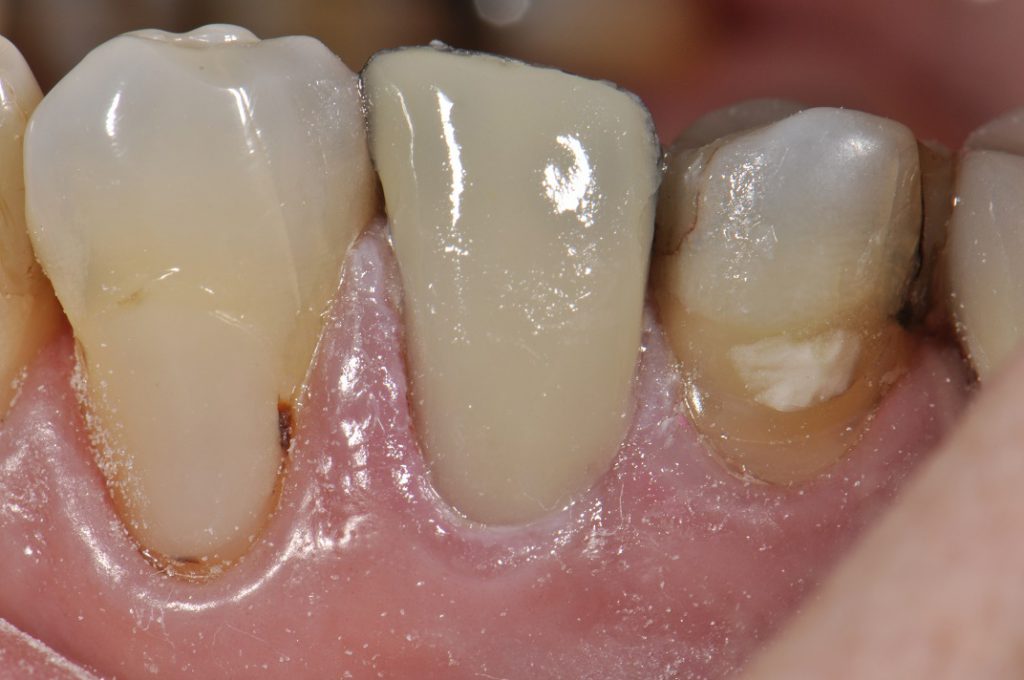
- You can see how the warmth of the brown stain brings this tooth into the family around it color wise. Now we are ready to finish and polish!
- After finishing and polishing, one can see how this tooth is drastically improved in position compared to the initial situation. One happy dental therapist! The Power of Composite and what it can do to transform your teeth into your dream smile really is possible at our practice! Make an appointment for a consultation today!
